

Adding Boarders to your quilts
- Jackson Cook
- Oct 21, 2023
- 2 min read

Adding boarders to your quilts can be a great way to make a quilt bigger quite quickly, a boarder can also highlight the work in the quilt centre & help showcase this work.
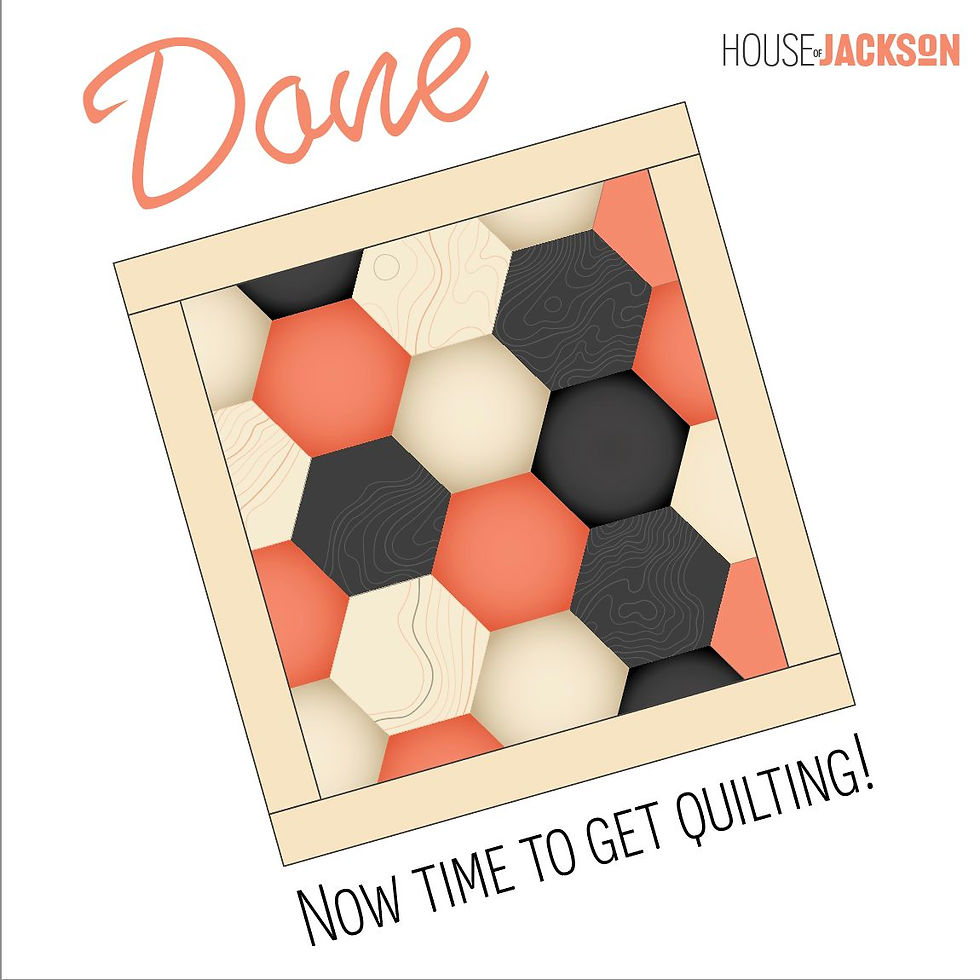
here is an example of how boarders have not only helped showcase the centre of the quilt, but also made the quilt big enough to fit into the bed & also become a canvas for some fun free motion quilting too!

As a Longarm quilter quilting for others, its common to see issues with boarders, some with excess fabric (making the border wavy ) & others with not quiet enough causing the centre of the quilt to bubble.
After tying to understand how this is occurring, I realised people are not aware of how to add boarders to avoid this happening, so I decided to write this blog to help educate quilt makers
Often we can get overwhelmed when wanting to adding borders to our quilts however with a few simple steps you can not only achieve a great result but also take the stress out of the process.
1, Simply start by measuring the side you wish to add boarder & cut pice to the same size
2, Next mark both pieces into 8th’s, this can be done by folding & marking with a pin.

3, next align 8th’s marking with right sides together, pin both pieces together & sitch seam ( a 2mm stitch lenght can help acheive a more defined seams )

4, Press stitching, then press seam open or to the side, repeat previous steps until all 4 sides are complete
5, Your borders are now finished & its time to get quilting ( or come to house of Jackson for the quilting )


Comments